
Introduction
Adding graphics to your dirt bike is more than just an aesthetic enhancement; it’s a chance to express your personality and style while also providing practical benefits. Custom graphics can protect your bike’s surface from scratches and wear, extend its lifespan, and even improve your visibility on the track. This article will guide you through the process of installing graphics on your dirt bike, making it a straightforward task for both seasoned motorcycle owners and those newer to bike maintenance. Whether you’re looking to personalize your ride with unique designs or simply wish to freshen up its appearance, we’ll cover everything you need-from selection tips to step-by-step installation instructions. If you’re eager to dive right in and explore the myriad of options available, check out our diverse range of bike graphics tailored for various styles and preferences!
Common Types of Graphics for Dirt Bikes
When it comes to customizing your dirt bike, the right graphics can make a significant difference in aesthetics and personal expression. Here’s a breakdown of common graphic styles and options available to motorcycle owners:
-
Logos: Personal branding or team logos can be prominently displayed on the sides or front of the bike. This not only enhances the bike’s appearance but also makes it instantly recognizable.
-
Patterns: Geometric shapes, stripes, and abstract designs are popular choices. These patterns can range from simple to complex, offering riders a chance to stand out while riding.
-
Custom Designs: Many riders opt for tailor-made graphics that reflect their personality or bike’s theme. This can include unique artwork, colors, and personal touches.
-
Sponsor Logos: For competitive riders, showcasing sponsor logos is crucial. This not only helps in securing sponsorship but also contributes to the bike’s professional look.
-
Safety and Grip Improvements: Some graphics not only enhance appearance but also improve grip and control. Textured graphics or grips are designed specifically to aid riders in maintaining better control during races.
-
Color Variations: Graphics are available in a wide array of colors, allowing riders to match their bikes with their gear and personal style. Bright and bold colors can enhance visibility on the track.
-
Seasonal Designs: Riders often change their bike’s graphics to reflect seasonal trends or events. For instance, unique graphics for the winter season can enhance or personalize the bike’s aesthetics notably.
For options tailored to your specific motorcycle brand, check out our custom graphic selections: Dirt Bike Graphics and Surron Graphics.
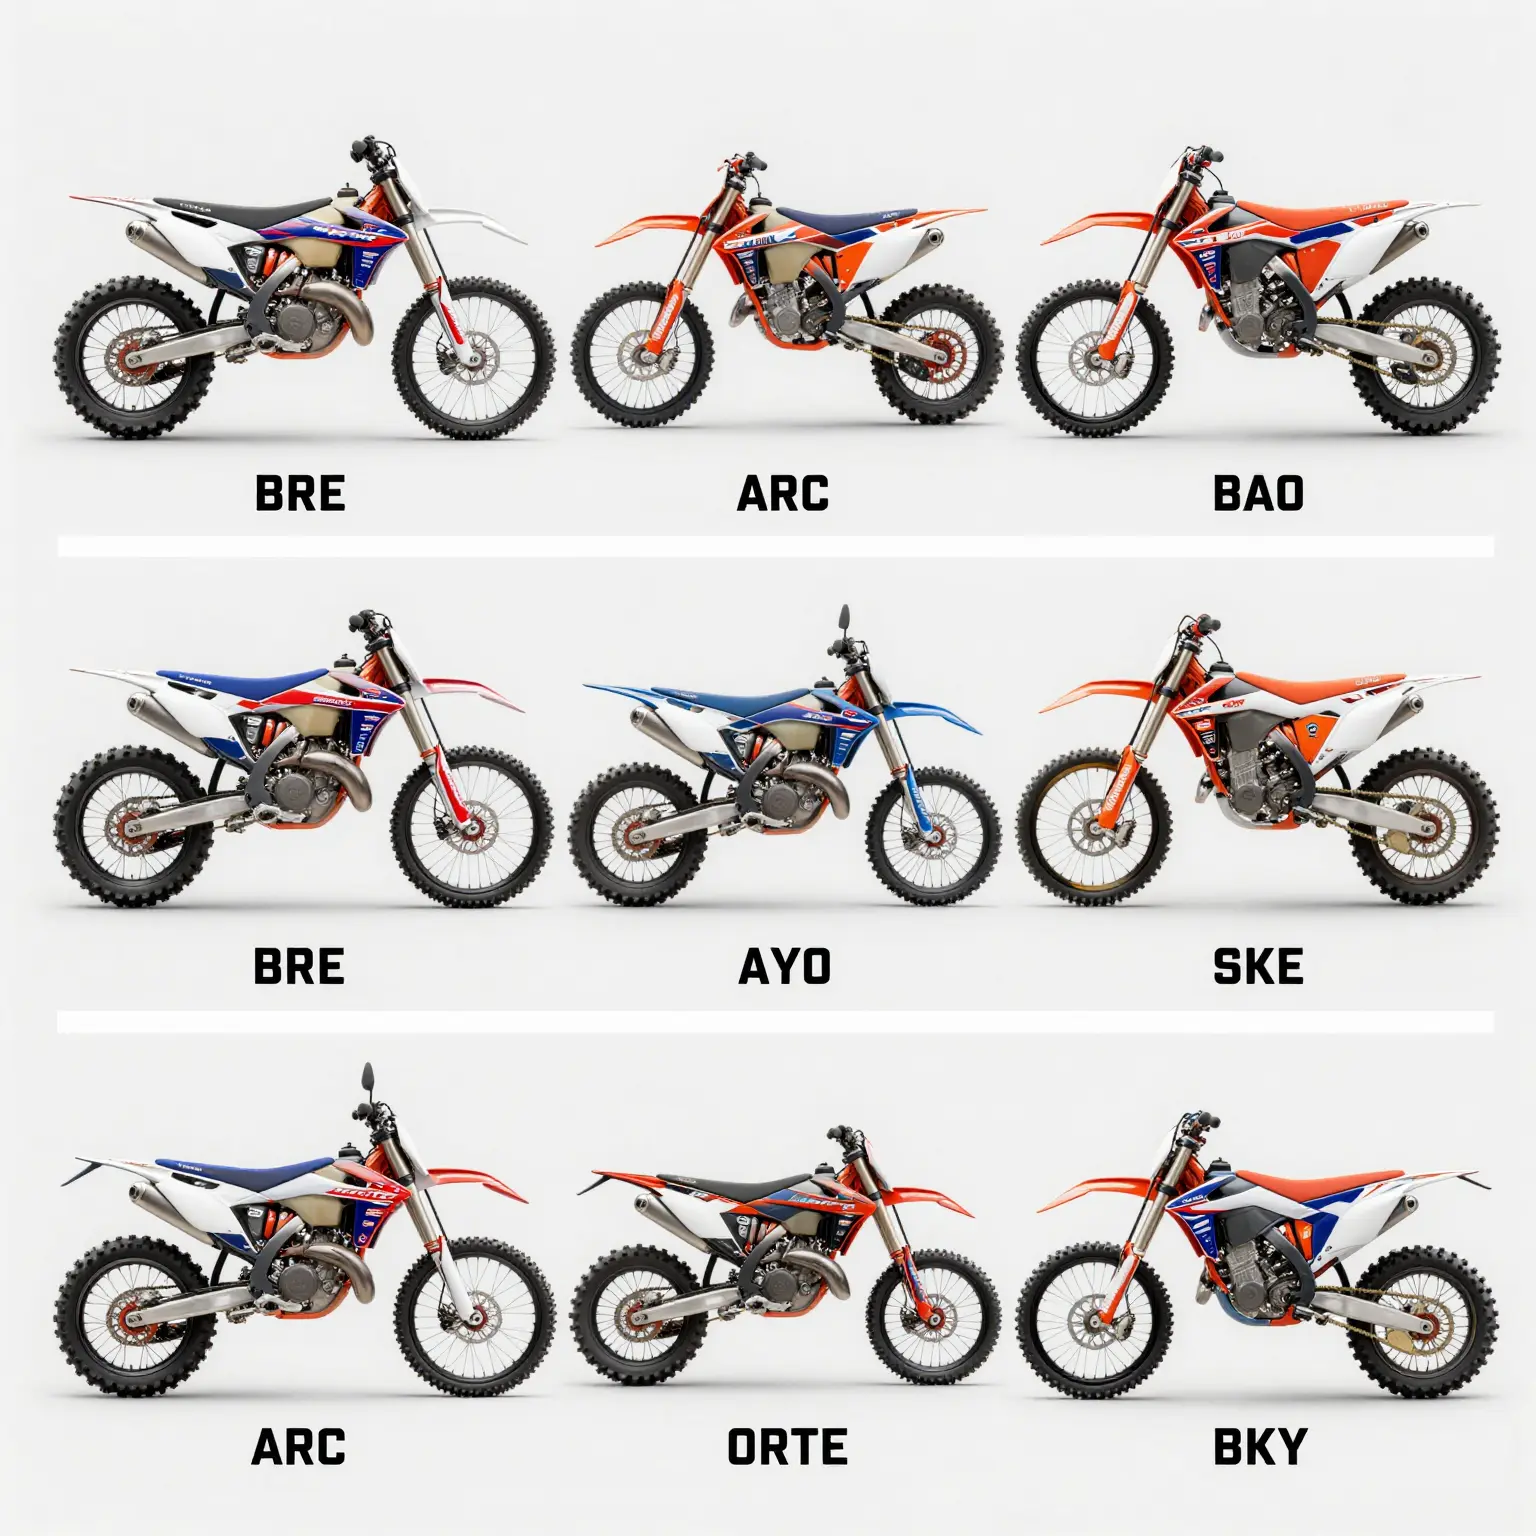
Explore these styles further to transform the look of your dirt bike and make a statement on the trails!
Tools Needed for Installing Graphics on a Dirt Bike
Installing graphics on your dirt bike is a rewarding task that not only enhances the bike’s appearance but also protects its body. Below, we detail the essential tools, materials, and safety equipment you’ll need for a successful installation.
Essential Tools
- Heat Gun or Hair Dryer: This tool is vital for warming up the graphics and ensuring they can bend and adhere correctly to the bike’s contours.
- Squeegee or Application Tool: A squeegee helps smooth out bubbles and creases while applying the graphics. Look for one with a felt edge to prevent scratches.
- Utility Knife or Razor Blade: Use a utility knife to trim excess vinyl and neatly cut around edges once the graphic is applied.
- Measuring Tape: Accurate measurements are crucial for proper alignment of the graphics, especially for larger pieces.
- Cleaning Supplies: Before you apply the graphics, thoroughly clean the bike with isopropyl alcohol, soap, and water to remove dirt and oils that can prevent adhesion.
- Optional – Vinyl Wrap Tools: If you’re familiar with vehicle wraps, specialized tools like a vinyl felt-edged application tool and layered squeegees can also be helpful.
Materials Required
- Graphic Kit: Choose a high-quality graphic kit designed for your specific dirt bike model. You can check out options at MotoGraphix’s KTM graphics to find suitable kits for your ride.
- Application Fluid: This is often a mixture of water and a mild soap solution to allow repositioning of the graphics before they adhere fully to the surface.
- Rubbing Alcohol: For degreasing the surface before installation, ensuring maximum adhesion.
Safety Equipment
- Gloves: Always wear gloves to protect your hands from adhesive materials and sharp tools.
- Safety Goggles: Protect your eyes from any debris while cutting or handling the graphics.
- Face Mask: If working with adhesives or solvents, wearing a mask is advisable to avoid inhaling harmful fumes.
Conclusion
With the right tools, materials, and safety equipment, you can effectively install graphics on your dirt bike, enhancing its look and maintaining its value. For detailed guidance on the installation process, feel free to refer to this step-by-step guide. Happy riding!
Ensure that you have everything listed before you start, as being prepared makes the installation process smoother and more enjoyable!
Step-by-Step Guide to Preparing Your Dirt Bike for Graphics Installation
Installing graphics on your dirt bike is a great way to personalize it and give it a fresh look. However, the key to a successful installation lies heavily in the preparation process. Here’s how to properly prepare your dirt bike for graphics installation, focusing on cleaning and surface preparation.
Step 1: Gather Your Supplies
Before you start, gather all necessary supplies:
- Mild soap or bike cleaner
- Water
- Soft cloths or sponges
- Adhesive remover
- Isopropyl alcohol
- Paper towels
- A heat gun or hair dryer (optional)
Step 2: Remove Existing Graphics
If your bike has old graphics, it’s crucial to remove them first:
- Carefully peel off the old graphics. If they are stubborn, use an adhesive remover to help ease the removal.
- Make sure to remove all residue from the previous decals, as this can affect the adhesion of the new graphics.
Step 3: Clean the Surface
Cleaning is vital to ensure that your new graphics adhere well:
- Wash the plastics: Use warm water mixed with mild soap or a specialized bike cleaner to thoroughly wash the plastics of your dirt bike. This removes dirt, dust, and oils.
- Rinse: Rinse off the soap with clean water and dry the surfaces with a soft cloth to avoid any water spots.
- Use Isopropyl Alcohol: After washing, wipe down the areas with isopropyl alcohol to eliminate any remaining oils or residues. Use clean paper towels for this step.
Step 4: Prepare the Surface
For optimal adhesion:
- Smooth Any Rough Edges: Inspect the plastics for rough edges or imperfections. Lightly sand these areas with fine-grit sandpaper, then clean again with isopropyl alcohol.
- Heat Treatment: If it’s cold, gently warm the graphics with a heat gun or hair dryer before applying them. This helps make the vinyl more pliable and easier to apply.
Step 5: Align and Apply the Graphics
Now that your bike is clean and prepped, you can start installing the graphics:
- Line up the graphics without removing the backing first to see where they will go.
- Start applying the graphics from one side, slowly peeling away the backing as you go, which helps reduce bubbles.
- Use a soft cloth to smooth out the graphic as you apply it. For any air bubbles, gently push them towards the edges or use a pin to prick small ones.
Additional Tips
- Work in a Temperate Environment: Ideally, work in a warm, dry place to ensure the graphics stick properly and reduce the risk of bubbles during application.
- Consult Professionals: If you are unsure about installing graphics yourself, consider consulting experts at MotoGraphics for recommendations.
By following these detailed preparation steps, your dirt bike will be ready for its new graphics, ensuring a vehicle that not only stands out but is also equipped with durable and lasting decals.
For more information about dirt bike graphics, you can check out Dirt Bike Empire’s guide on surface preparation and graphic application.
Detailed Installation Process for Graphics on a Dirt Bike
Installing graphics on your dirt bike is a fantastic way to customize its appearance and show off your personality. However, improper installation can lead to bubbles, wrinkles, or graphics that peel off too soon. This guide will break down the installation process into manageable steps, ensuring a smooth and successful application.
Tools and Materials You’ll Need
- Graphics Kit – Choose a quality graphics kit suited for your dirt bike model. For a variety of options, check out MotoGraphics graphics.
- Heat Gun – Useful for making the graphics more flexible during installation.
- Spray Bottle – Fill with a mixture of water and a few drops of dish soap. This helps in positioning the graphics and reducing sticky pressure.
- Squeegee – A plastic squeegee is ideal for smoothing out the graphics and removing air bubbles.
- Cleaning Supplies – Rags, alcohol, or degreaser for cleaning the surfaces.
- Utility Knife or Scissors – For trimming excess graphics.
- Masking Tape – Helps to hold graphics in place during positioning.
Step-by-Step Installation Instructions
Step 1: Prepare the Surface
- Clean the Bike: Use a degreaser or rubbing alcohol to remove dirt, grease, and old adhesive from the surface where the graphics will be applied. Ensuring a clean surface promotes better adhesion.
- Dry Thoroughly: Make sure the surface is completely dry before applying the graphics.
Step 2: Position the Graphics
- Lay Out the Graphics: Unroll and lay out the graphics on a flat surface. This allows you to visualize how they will fit on your bike.
- Use Masking Tape: Temporarily attach the graphics to the bike using masking tape. This lets you adjust the positioning easily.
Step 3: Apply the Graphics
- Mist the Surface: Lightly spray the water-soap mixture onto the area where you’ll apply the graphic. This allows for repositioning before the adhesive sets.
- Peel and Stick: Carefully peel off the backing of the graphic and stick it to the misted area. Start from one side and gradually move to the other, ensuring no air bubbles form.
- Smooth Out: Use the squeegee to press the graphic onto the surface, moving from the center outward. This will help eliminate air bubbles.
Step 4: Heat and Seal
- Use Heat: With the heat gun, gently warm the graphic. This makes it more flexible and helps it conform to the bike’s surface, especially around curved edges. Be cautious not to overheat or burn the material.
- Squeeze and Seal: After heating, use the squeegee again to ensure all sides are firmly adhered. Pay special attention to the edges.
Step 5: Trim Excess Graphics
- Cut Edges: If your graphics have excess material, use a utility knife or scissors to trim it for a clean and professional look.
- Final Touches: Once everything is applied and smoothed out, go over the graphics one last time to ensure there are no remaining air bubbles or lifted edges.
Tips for Success
- Temperature Matters: Optimal temperature for applying graphics is between 70°F and 90°F (21°C and 32°C). Too cold can make the vinyl stiff; too hot can mar it.
- Take Your Time: Rushing can lead to mistakes. Take your time to get the alignment perfect before pressing down.
- Practice Makes Perfect: If you’re new to applying graphics, consider practicing on an old piece of plastic to get a feel for the material and application technique.
Installing graphics on your dirt bike can be a rewarding task that enhances its appearance and your riding experience. For more graphic options, explore our collection at MotoGraphics. Happy riding!
Here is a chart that compares various popular dirt bike graphics brands, highlighting their features, pricing, and ratings:
| Brand | Features | Pricing | Ratings |
|---|---|---|---|
| 100% | Vibrant, durable | $50-$120 | 4.5 |
| Decal Works | Customizable, long-lasting | $59-$130 | 4.7 |
| MX Graphics | Diverse, balance of style and durability | $40-$100 | 4.3 |
| Fly Racing | Stylish, rugged | $50-$150 | 4.6 |
Additionally, here is a visual representation of the brand ratings comparison:
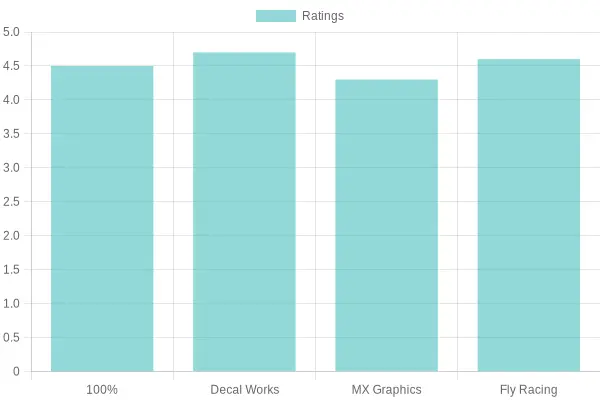
These brands are recognized for their quality and unique designs, making them popular choices among dirt bike enthusiasts. For more information about specific graphics, check out our product range or explore options for Surron graphics.
Troubleshooting Common Installation Issues for Dirt Bike Graphics
Installing graphics on dirt bikes can greatly enhance their look and personal flair. However, many riders and technicians encounter common issues such as bubbling or misalignment during the installation process. Here are some practical solutions and tips to help you troubleshoot these issues:
1. Bubbling Issues
Bubbling can occur during the application of graphics due to trapped air or improper surface preparation. To prevent this:
- Prepare the Surface: Before applying graphics, ensure that the surface is clean and free of any contaminants. New plastics may have a waxy residue that can hinder adhesion. Use a suitable cleaner and let the surface dry completely.
- Use Heat: When applying graphics, using a heat gun or a hairdryer (on a low setting) can help the vinyl conform better to the surface. Slightly warming the graphic can make it more pliable and reduce the chance of bubbles developing.
- Squeegee Technique: Use a squeegee to push out trapped air as you apply the graphic. Start from the center and work your way outwards. If you still notice bubbles after application, you can gently puncture them with a small pin and press out the excess air.
2. Misalignment Problems
Misalignment is another common challenge that can affect the overall appearance of your dirt bike. Here’s how to keep things aligned:
- Measure and Mark: Before applying the graphic, measure and mark the location where it will go. This will provide guidance during application.
- Practice Placement: If you are uncertain about the positioning, practice placing the graphics on the bike without removing the backing first. This technique allows you to visualize the final look and make adjustments before the graphics stick.
- Take Your Time: Rushing the installation can lead to mistakes. Take your time during the application and don’t hesitate to lift and reposition the graphic if necessary.
3. Environmental Conditions
The environment in which you apply the graphics can also impact the installation process:
- Ideal Temperature: Make sure you are installing the graphics in a warm environment. Cold temperatures can cause the adhesive not to bond correctly, leading to peeling and bubbling issues later.
Conclusion
Installing graphics on your dirt bike is an exciting process that can enhance its aesthetics, but it requires attention to detail to avoid common pitfalls. If you experience issues with bubbling or misalignment, follow the solutions outlined here to achieve the best results. For more information, you can explore a wide range of dirt bike graphics options tailored to your motorcycle needs.
The Importance of Graphics on Dirt Bikes
When it comes to customizing dirt bikes, the role of graphics cannot be overstated. According to a skilled motorcycle technician, “Graphics are more than just a visual element; they express the personality and style of the rider while providing a layer of protection to the bike’s surface.” This insight underscores the dual function of graphics in both aesthetic appeal and practical protection.
- Customization: Riders can personalize their bikes, making them stand out on the track or trails.
- Durability: High-quality graphics can protect against scratches and weather elements, prolonging the life of the bike’s exterior.
- Identity: Unique designs contribute to a rider’s identity, fostering a connection with their machine.
To explore various graphics options available for your dirt bike, check out our KTM graphics or Surron graphics.
Conclusion and Call to Action
Installing graphics on your dirt bike not only enhances its aesthetics but also provides a layer of protection against wear and tear. We’ve covered several key steps, including:
- Preparation: Cleaning the surface thoroughly to ensure the decals adhere properly.
- Installation: Properly placing the graphics and making sure there are no bubbles for a smooth finish. You can find more tips on this in our detailed guide, how to install dirt bike graphics.
- Choosing Quality Graphics: Selecting a durable graphics kit that enhances your bike’s appearance while withstanding different elements. For a range of options, check our selection of bike graphics.
Whether you are a seasoned motorcycle technician or a novice motorcycle owner interested in personalizing your ride, following these guidelines will ensure that your graphics look great and last long.
We would love to hear your experiences! Have you installed graphics on your bike before? What tips can you share with others? Feel free to share your stories in the comments below. If you prefer, we also offer professional installation services if you want a perfect finish without the hassle. Contact us today for more information!
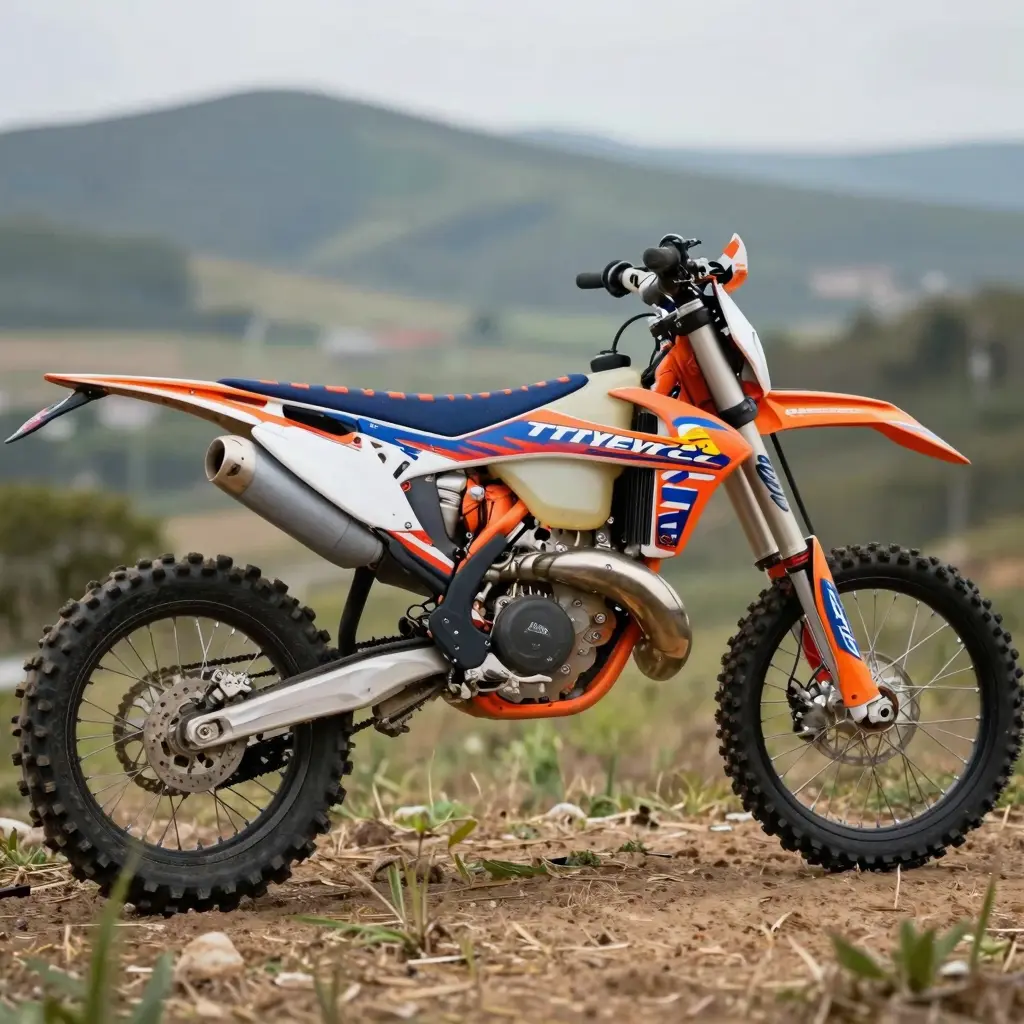
Vibrant graphics on a dirt bike
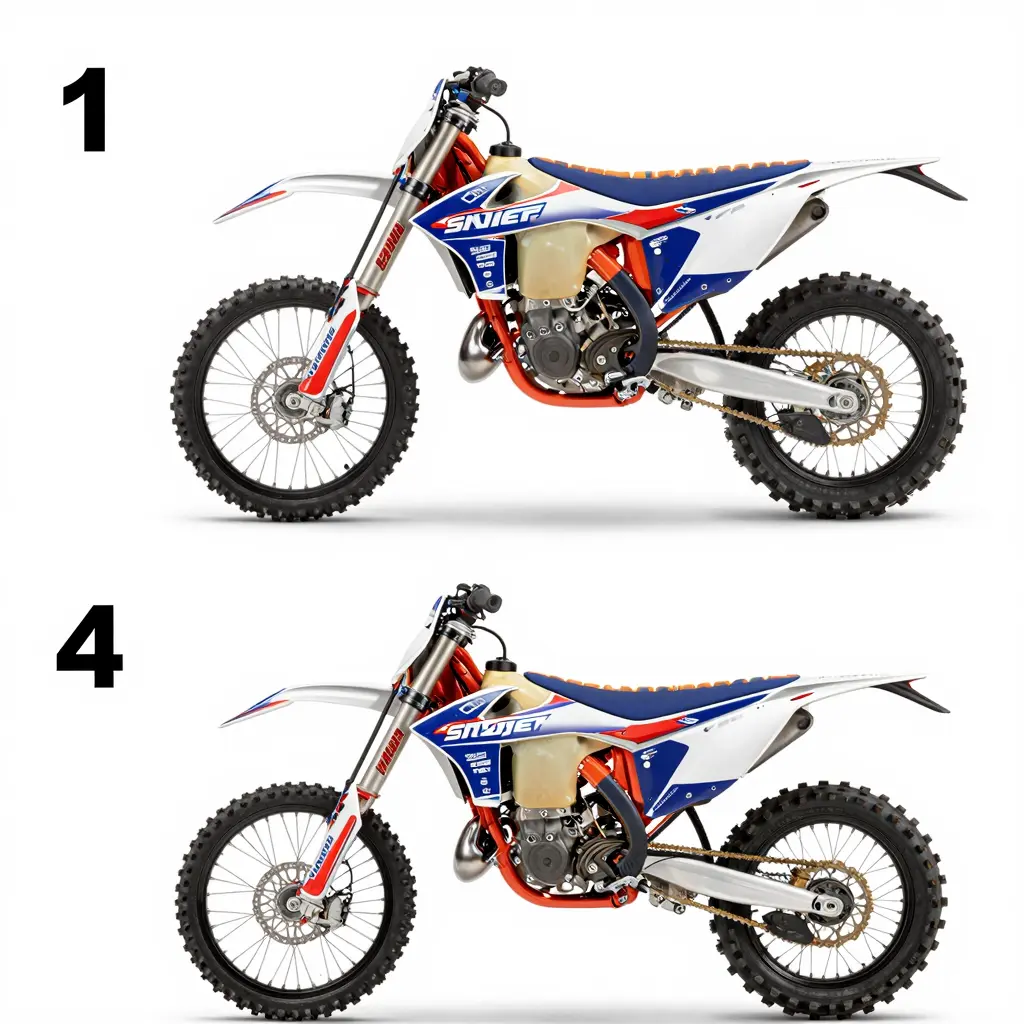
Step-by-step installation process